
WEEK 03
February 20, 2026 - February 26, 2026
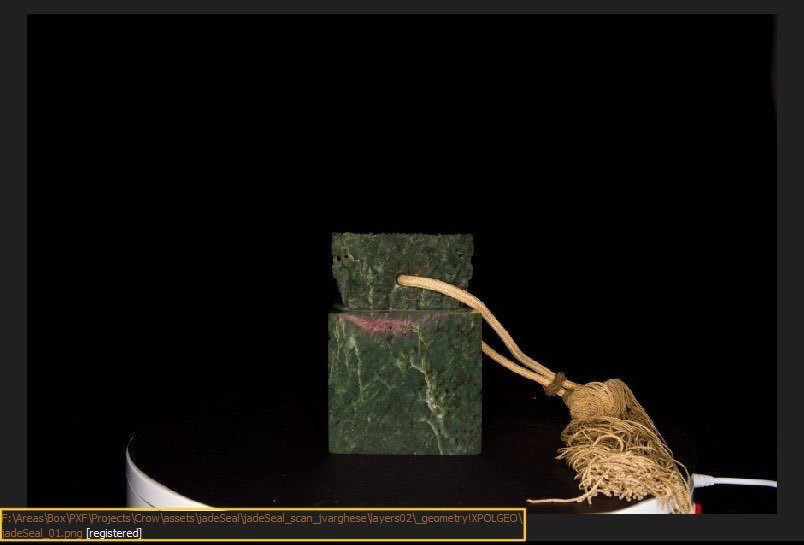
Jade Seal: Process, Construct and Reconstruct
Objective
Construct a clean high-resolution master mesh of the Jade Seal using calibrated image layers and mask refinement.
I. Initial Setup and Layer Organization
Previously, I organized the image layers into the parent layers folder following RealityScan’s naming conventions. I renamed each image to match its corresponding set across geometry, texture, and mask layers. I also maintained identical base filenames across all layer types (_geometry, _texture, _mask). Any mismatch in naming prevents proper layer stacking during import.
II. Alignment and Verification
Import Layers
I loaded the parent layers folder into RealityScan, containing:
_geometry!XPOL — 8-bit cross-polarized images for geometry
_texture@PPOL — 16-bit parallel-polarized images for texture
_texture@XPOL — 16-bit cross-polarized images for texture
_mask — mask images used to exclude the tassel
I used the previously generated masks from Nuke using the keyer technique to remove the tassel during reconstruction.
I tried to keep the masks purely black and white reducing the mask picking up on any seal details in order to avoid partial geometry artifacts during reconstruction process.
Verify Layer Stacking
I checked the image layers in the 2D view and cycled through them by pressing TAB to confirm proper stacking, ensuring all the necessary layers appear and are accessible.
Align Images
I ran the align images process under the Alignment tab to generate camera positions and a sparse point cloud of the scan data.
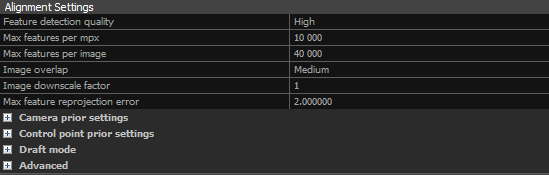
I adjusted alignment settings where necessary by:
Setting feature detection to High if not already the default
Removing problematic images if alignment failed
III. Mesh Generation and Cleanup
Create Initial Mesh
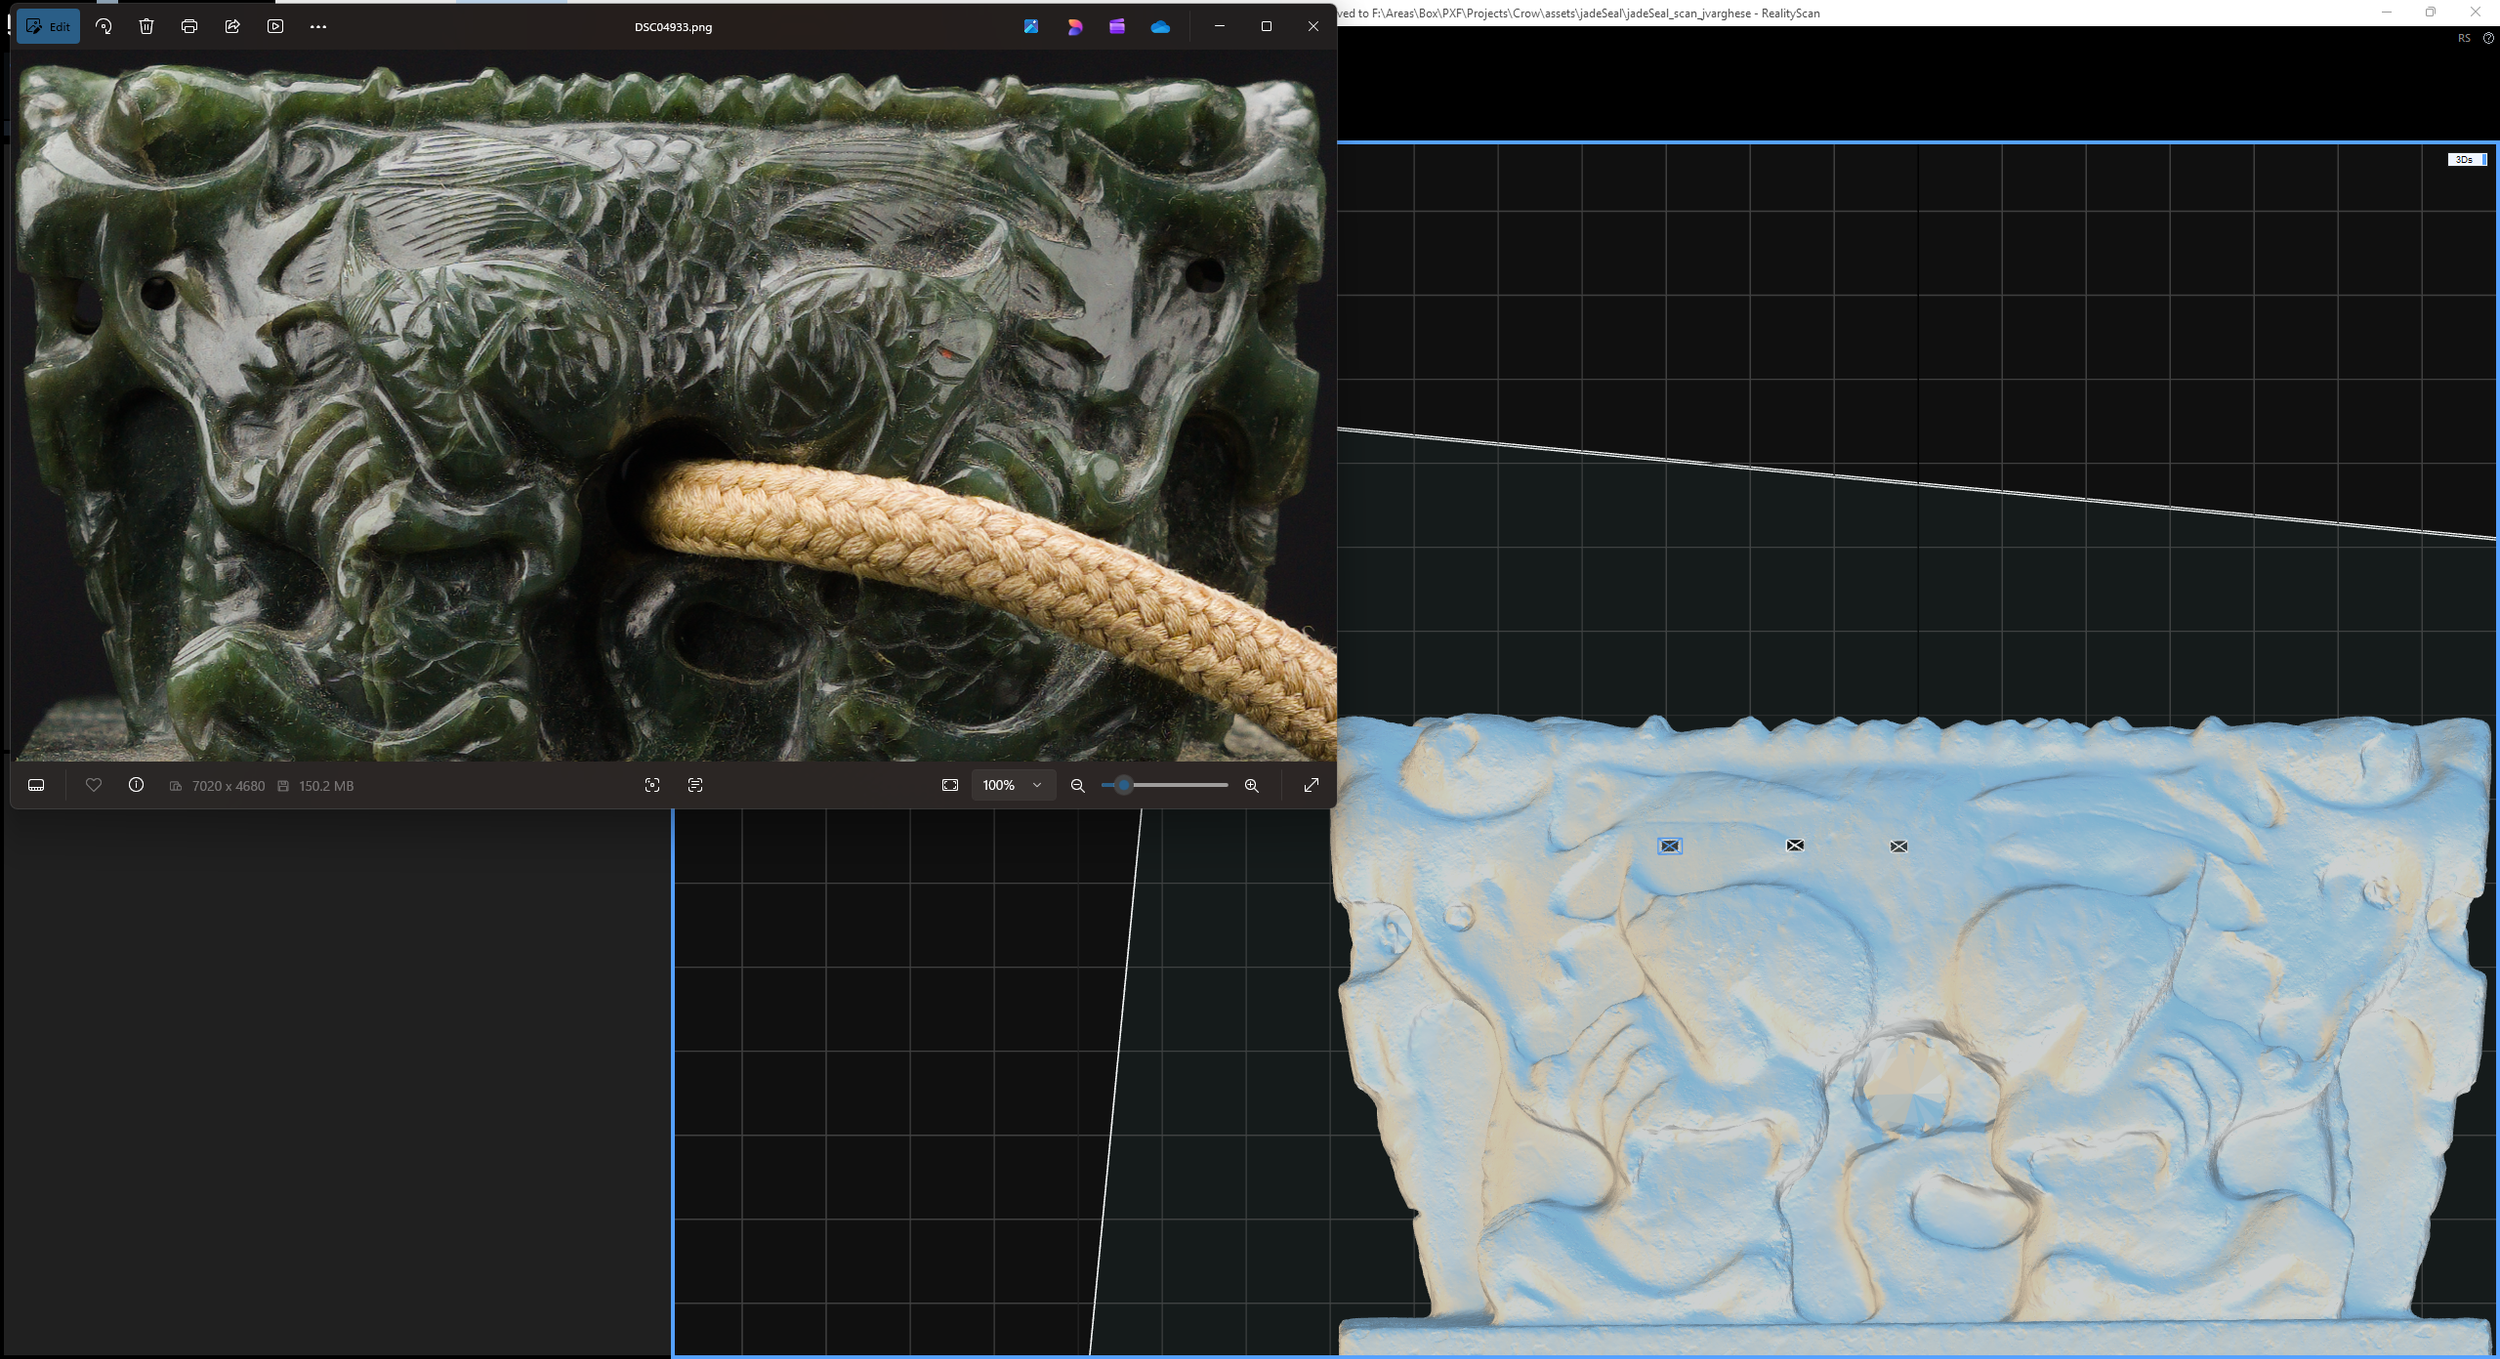
I generated a Normal Detail mesh to inspect alignment quality and identify artifacts.
Filter and Refine
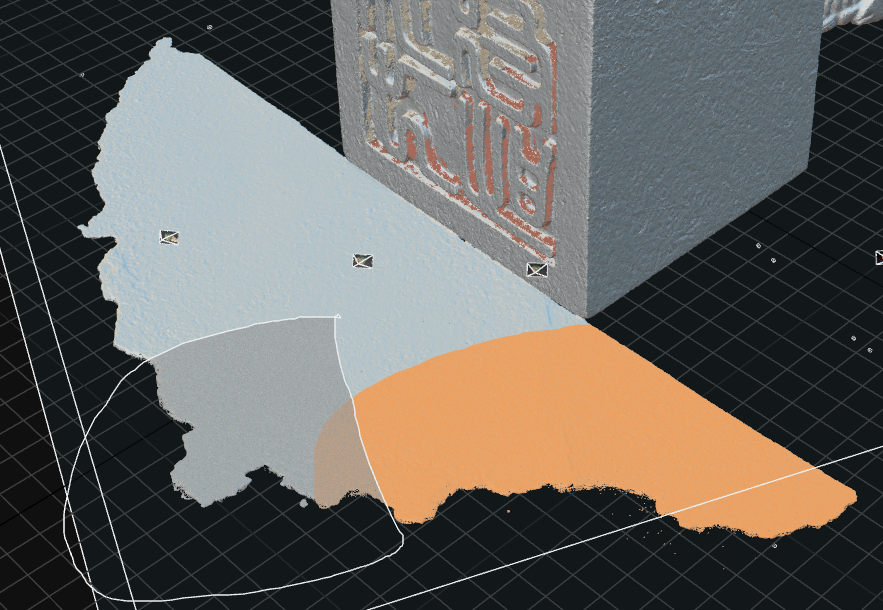
I used the Lasso tool to select and remove unwanted geometry using Filter Selection.
Clean Model and Close Holes ensure the quality of the mesh is maintained and remove any topological defects.
For further refinement, I exported selections as masks and iterated in Nuke to improve tassel removal. I created additional garbage mattes from filtered selections in RealityScan to isolate the seal body and remove remaining background and tassel elements.
This established an iterative workflow:
RealityScan → Mask refinement (Nuke) → RealityScan,
which I used to improve results for thin or complex geometry, reflective and subsurface surface details, and background spill during reconstruction.
For consistent results, I restarted the project after updating masks and folder structure.


IV. High-Detail Reconstruction
Once the alignment and masks were verified, I initiated the High Detail reconstruction. Depending on image count and hardware, this process took between 30 minutes and 2 hours.
After the first reconstruction, I generated multiple iterations to evaluate mesh quality:
Version 01: Underexposed processed scan images using XPOL geometry
Version 02: Identified underexposed images, applied exposure compensation, and regenerated the mesh using geometry and mask layers
Version 03: Tested PPOL images in the _geometry folder after exporting 8-bit PNGs
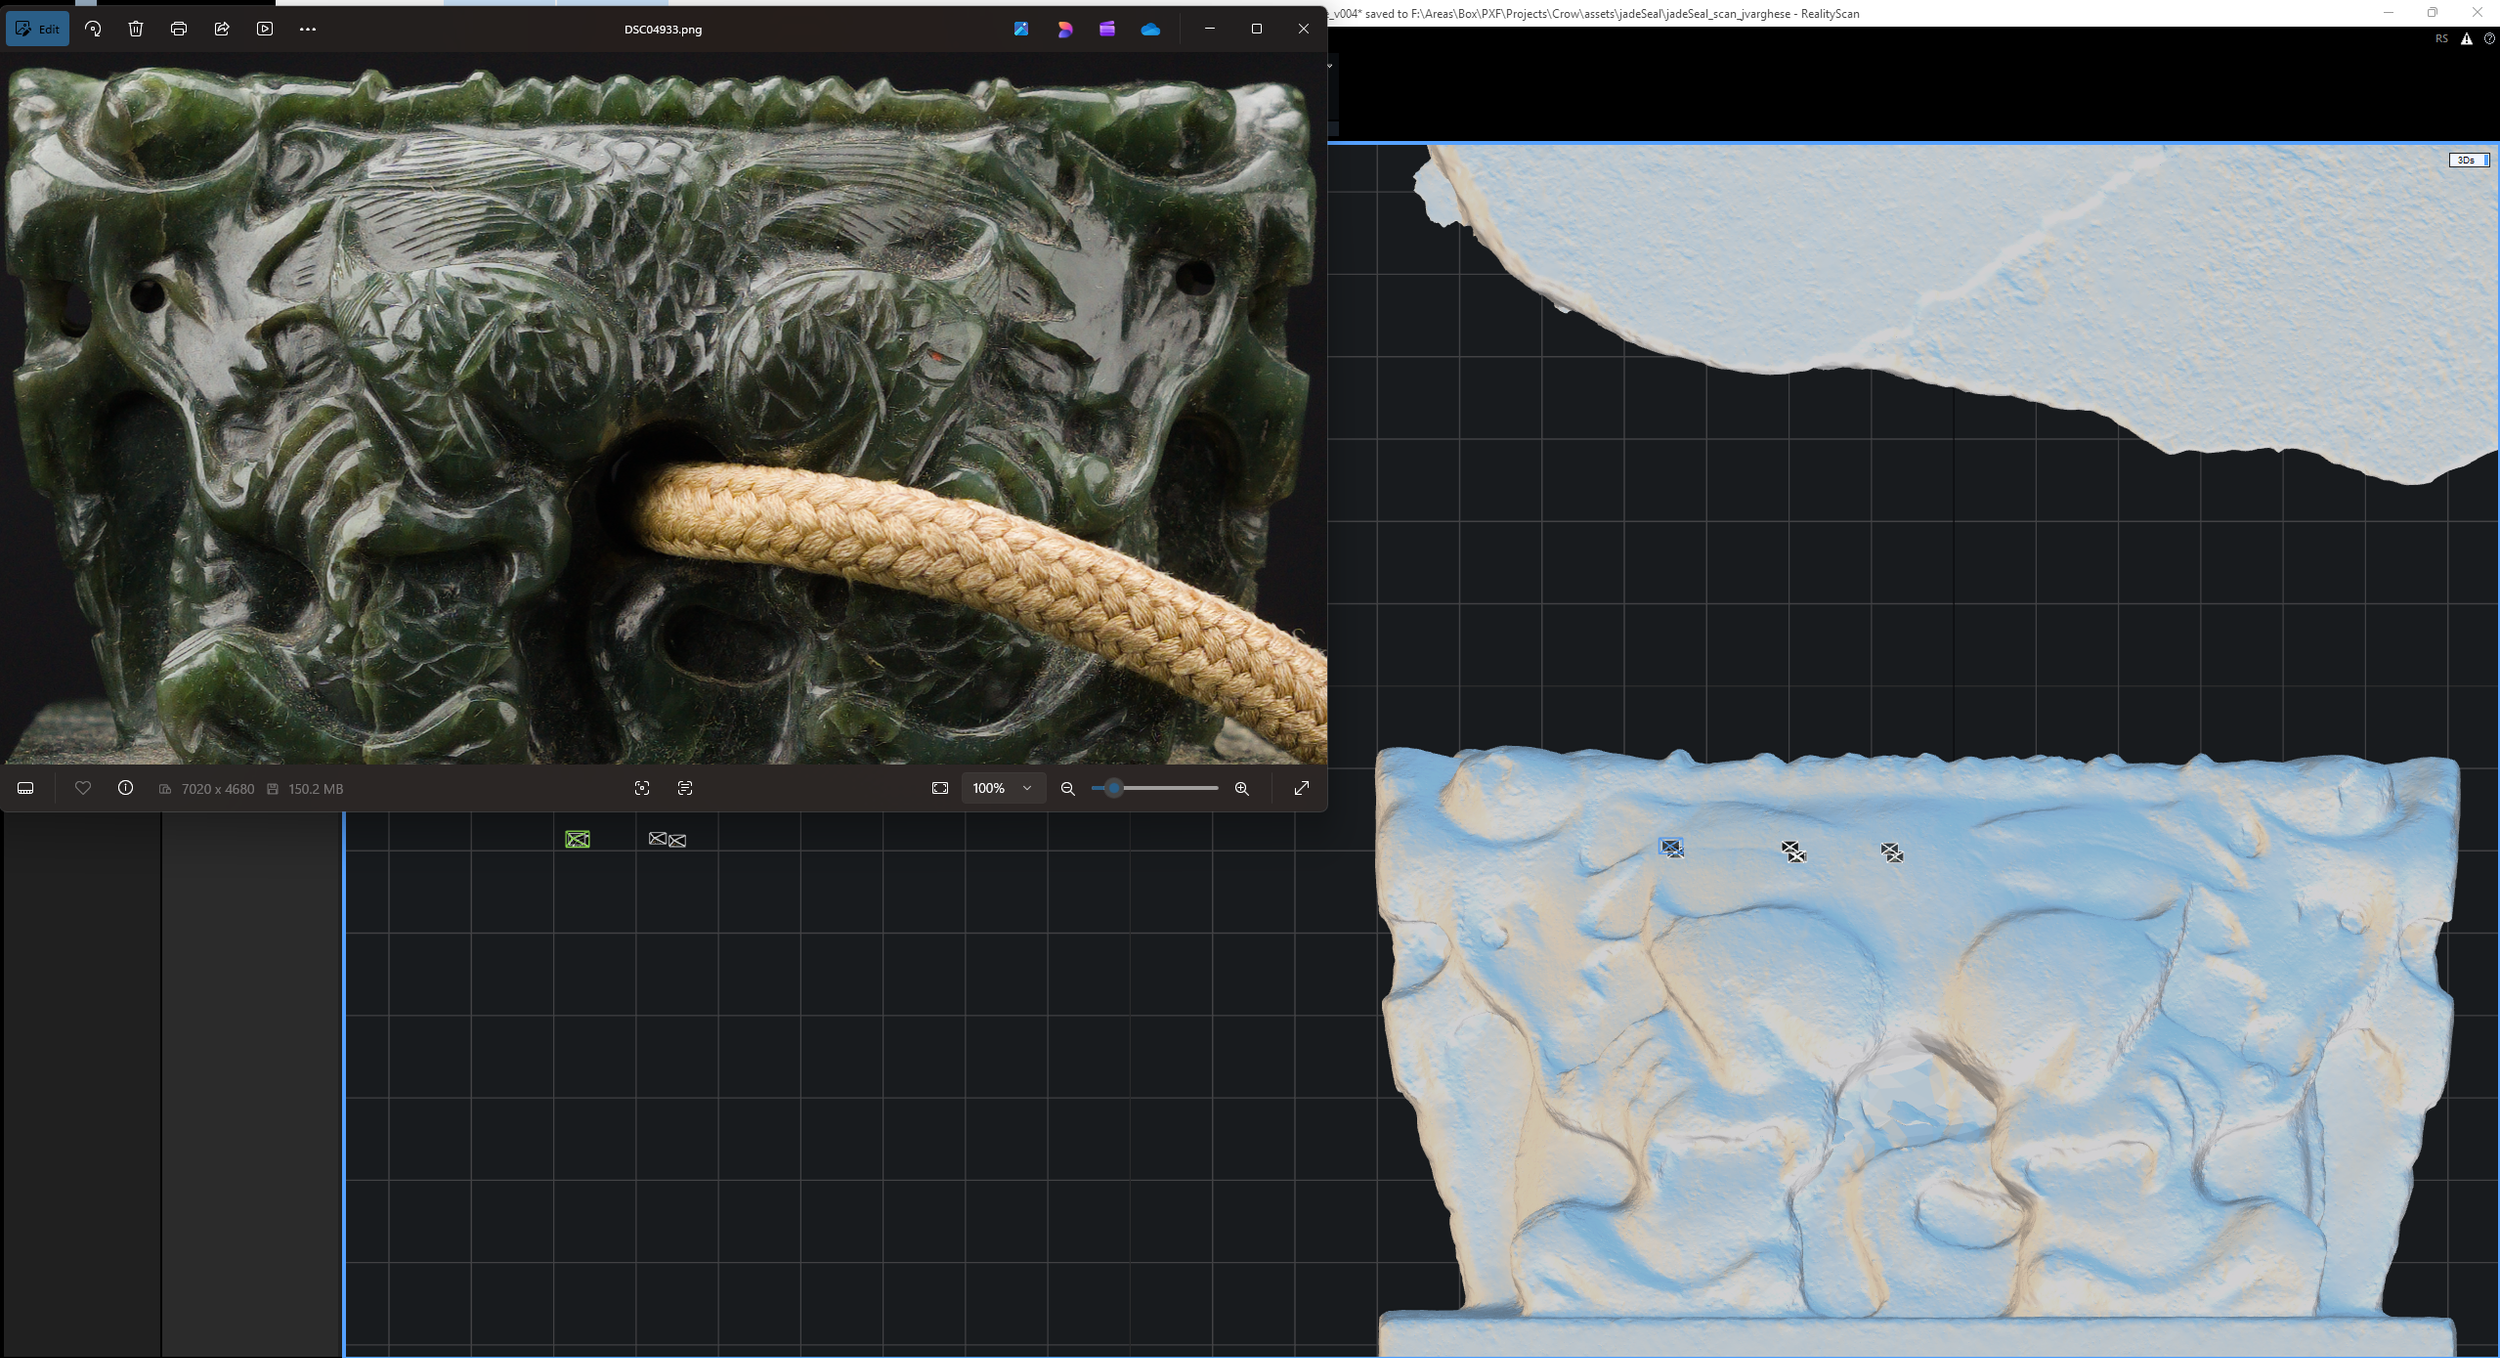
Version 04: Tested combined PPOL and XPOL images for the geometry layer


Version 01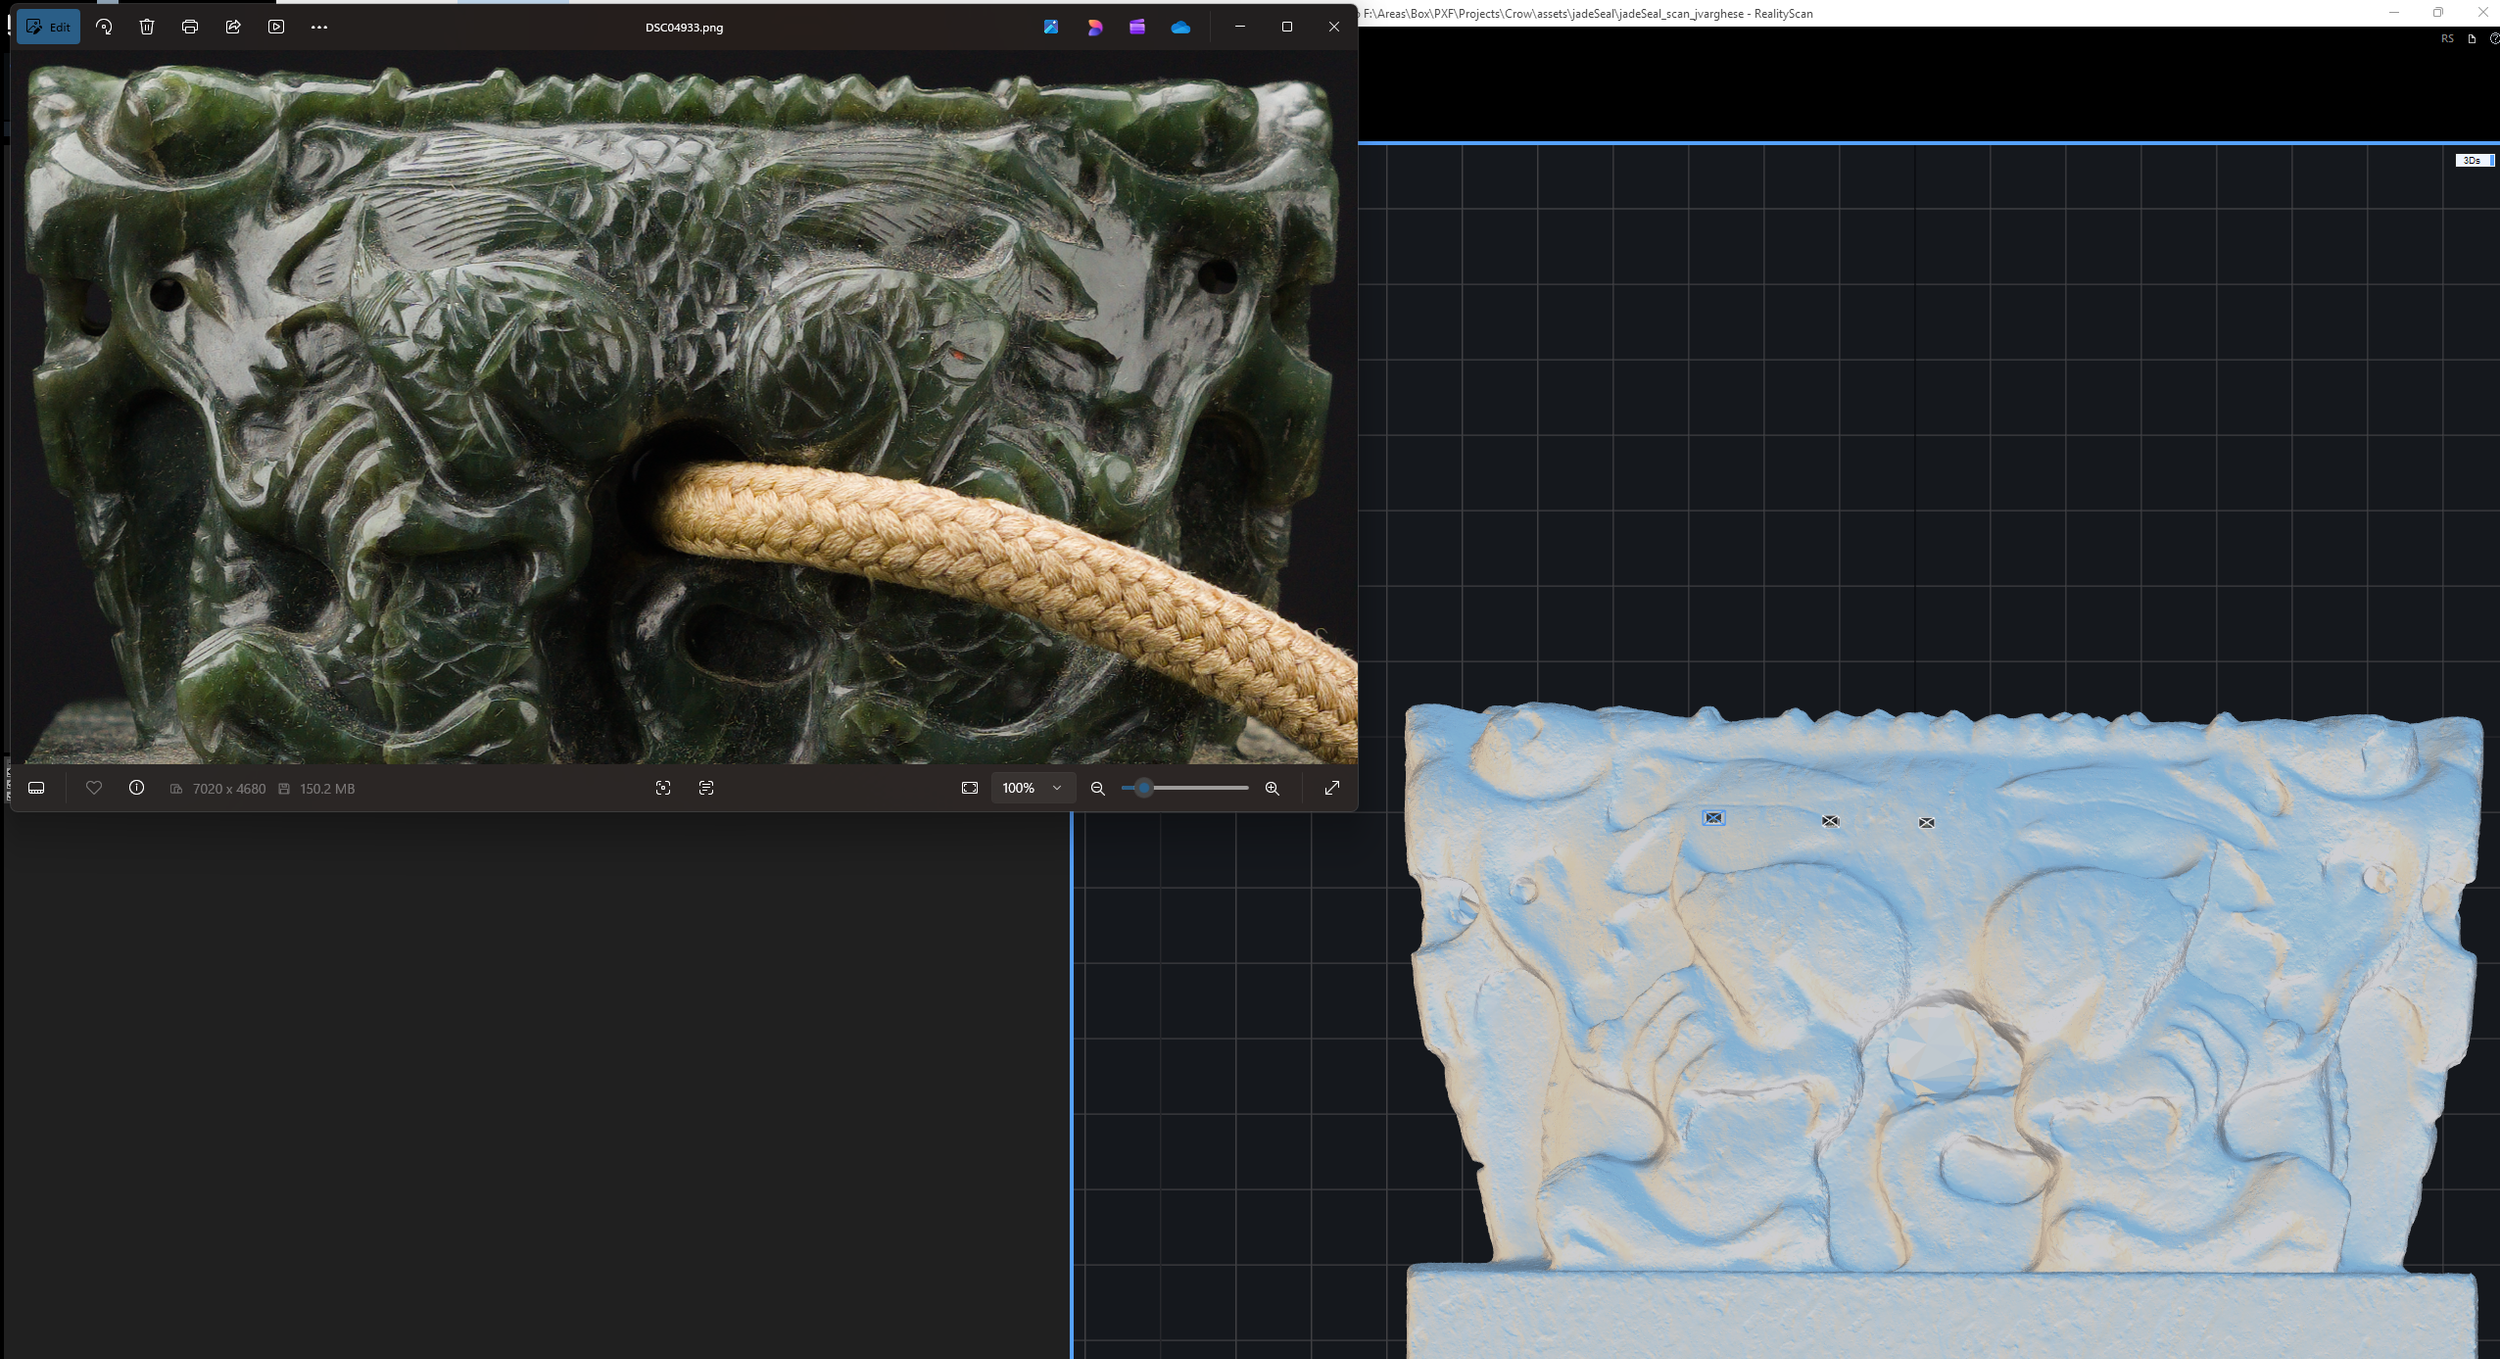
Version 02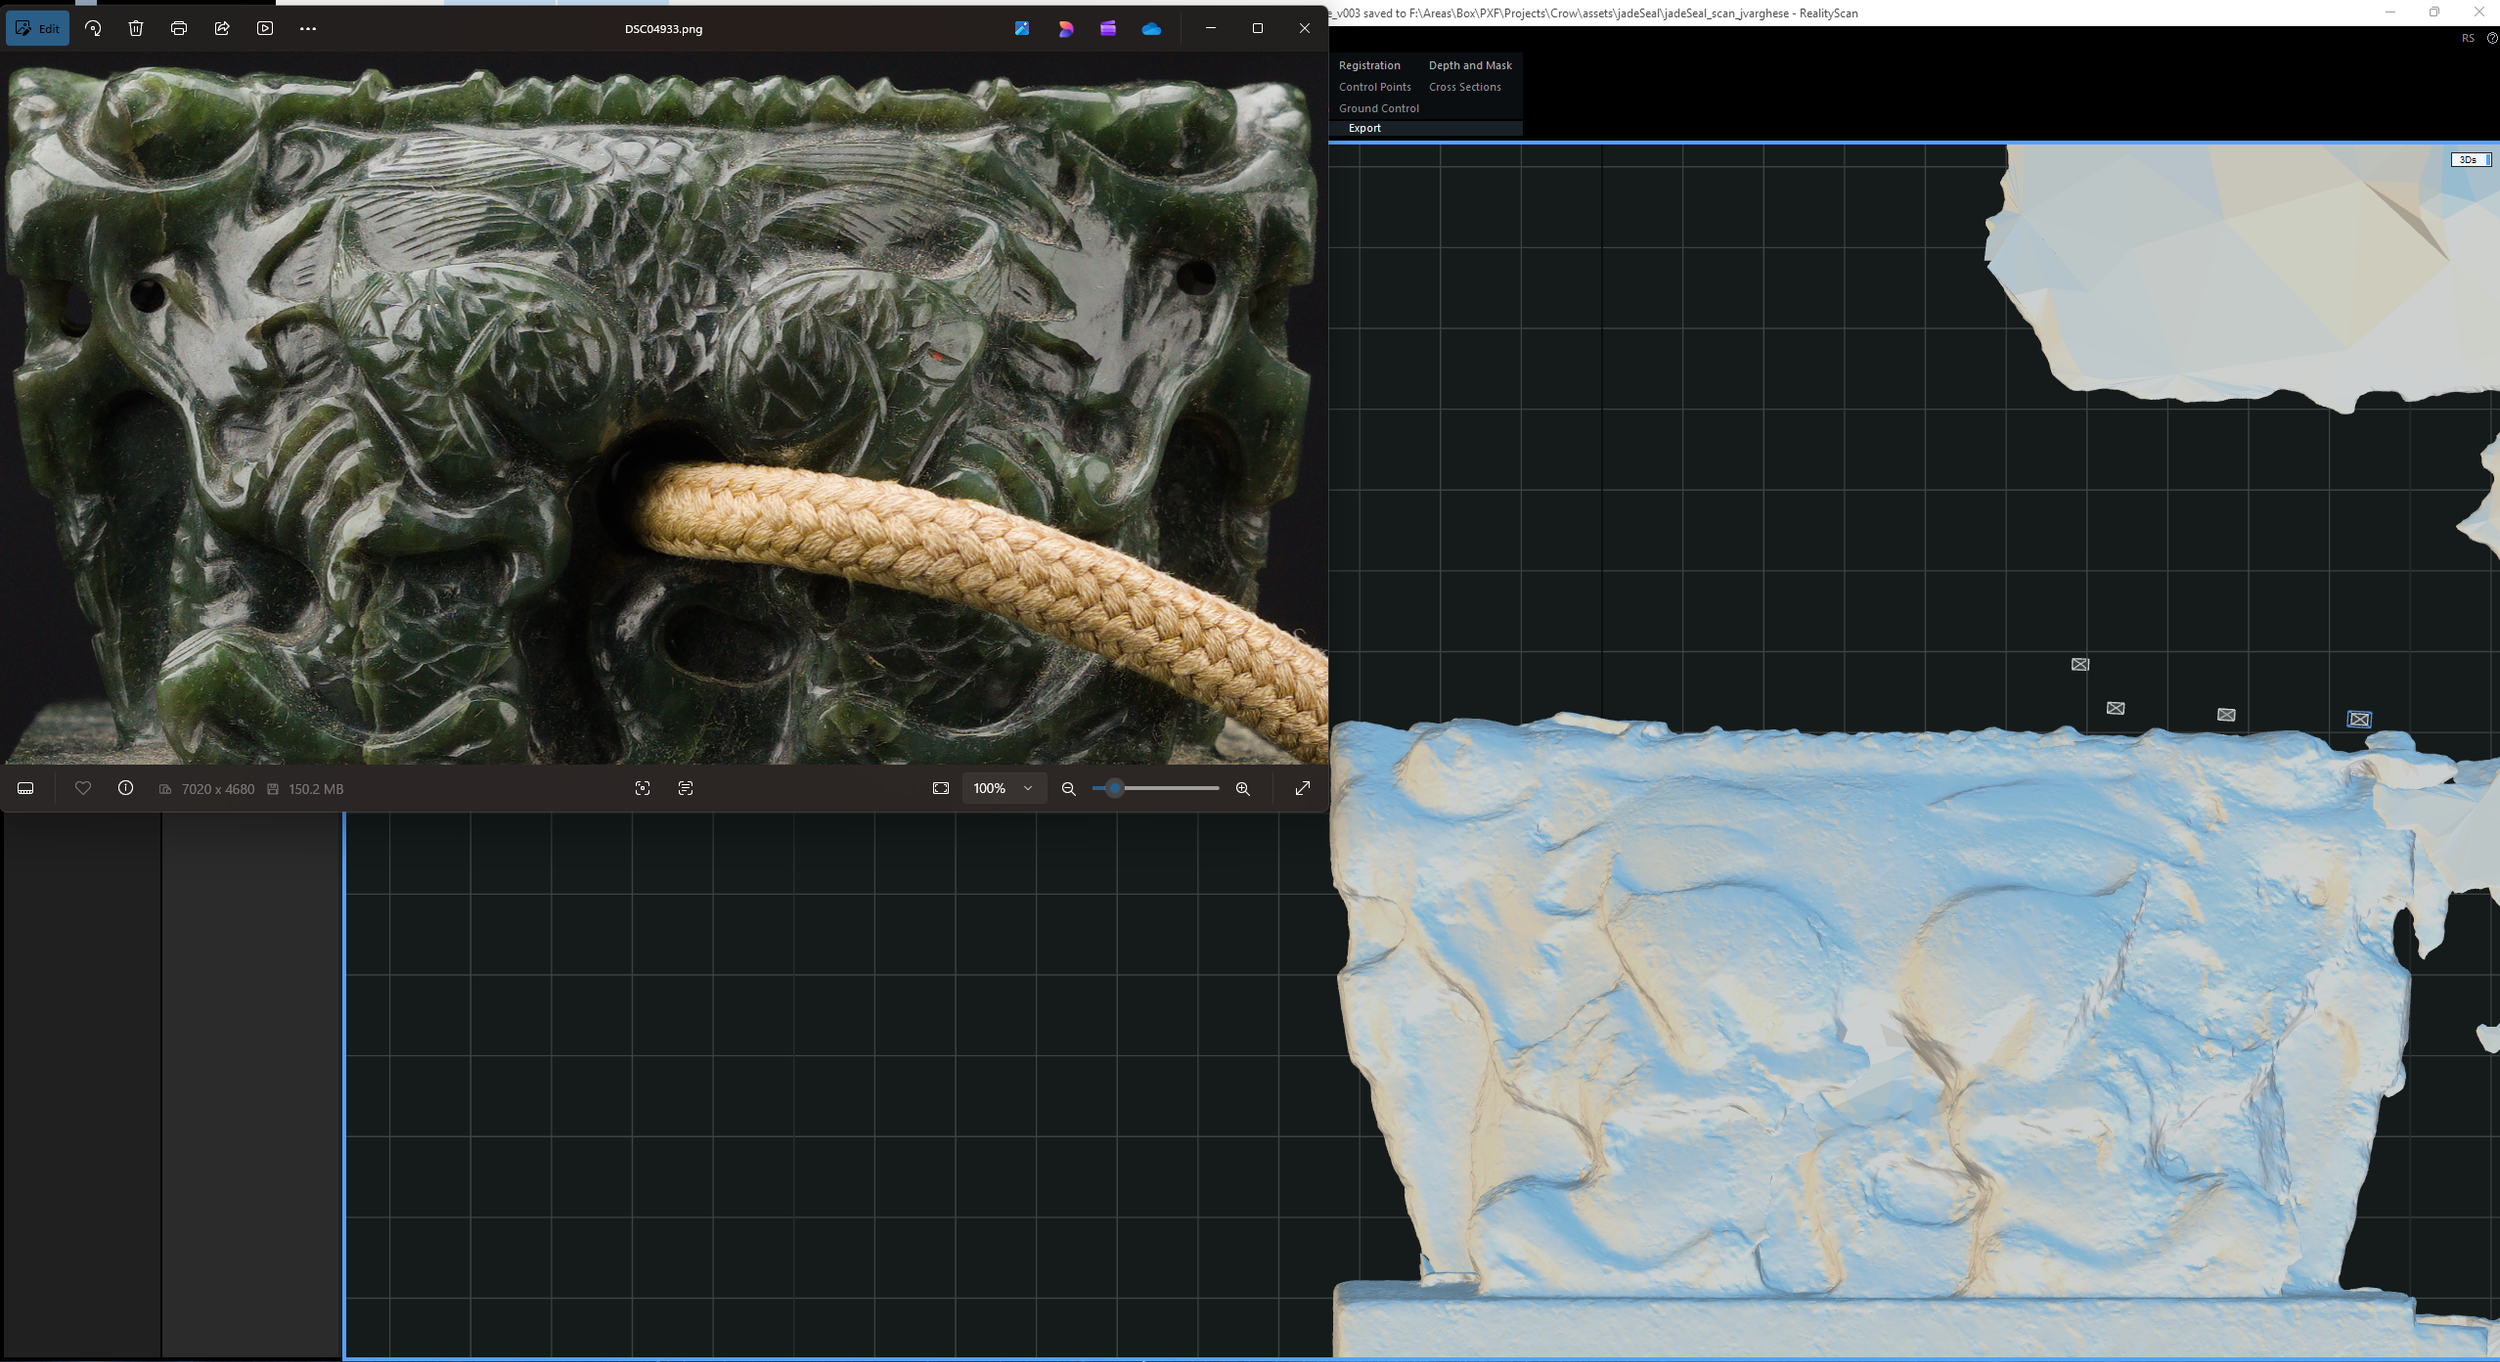
Version 03
Version 04Findings
I observed that:
PPOL-only reconstruction produced unstable geometry due to varying specular reflectivity and subsurface variation (version 03)
Combined PPOL + XPOL improved stability but reduced fine detail (version 04)
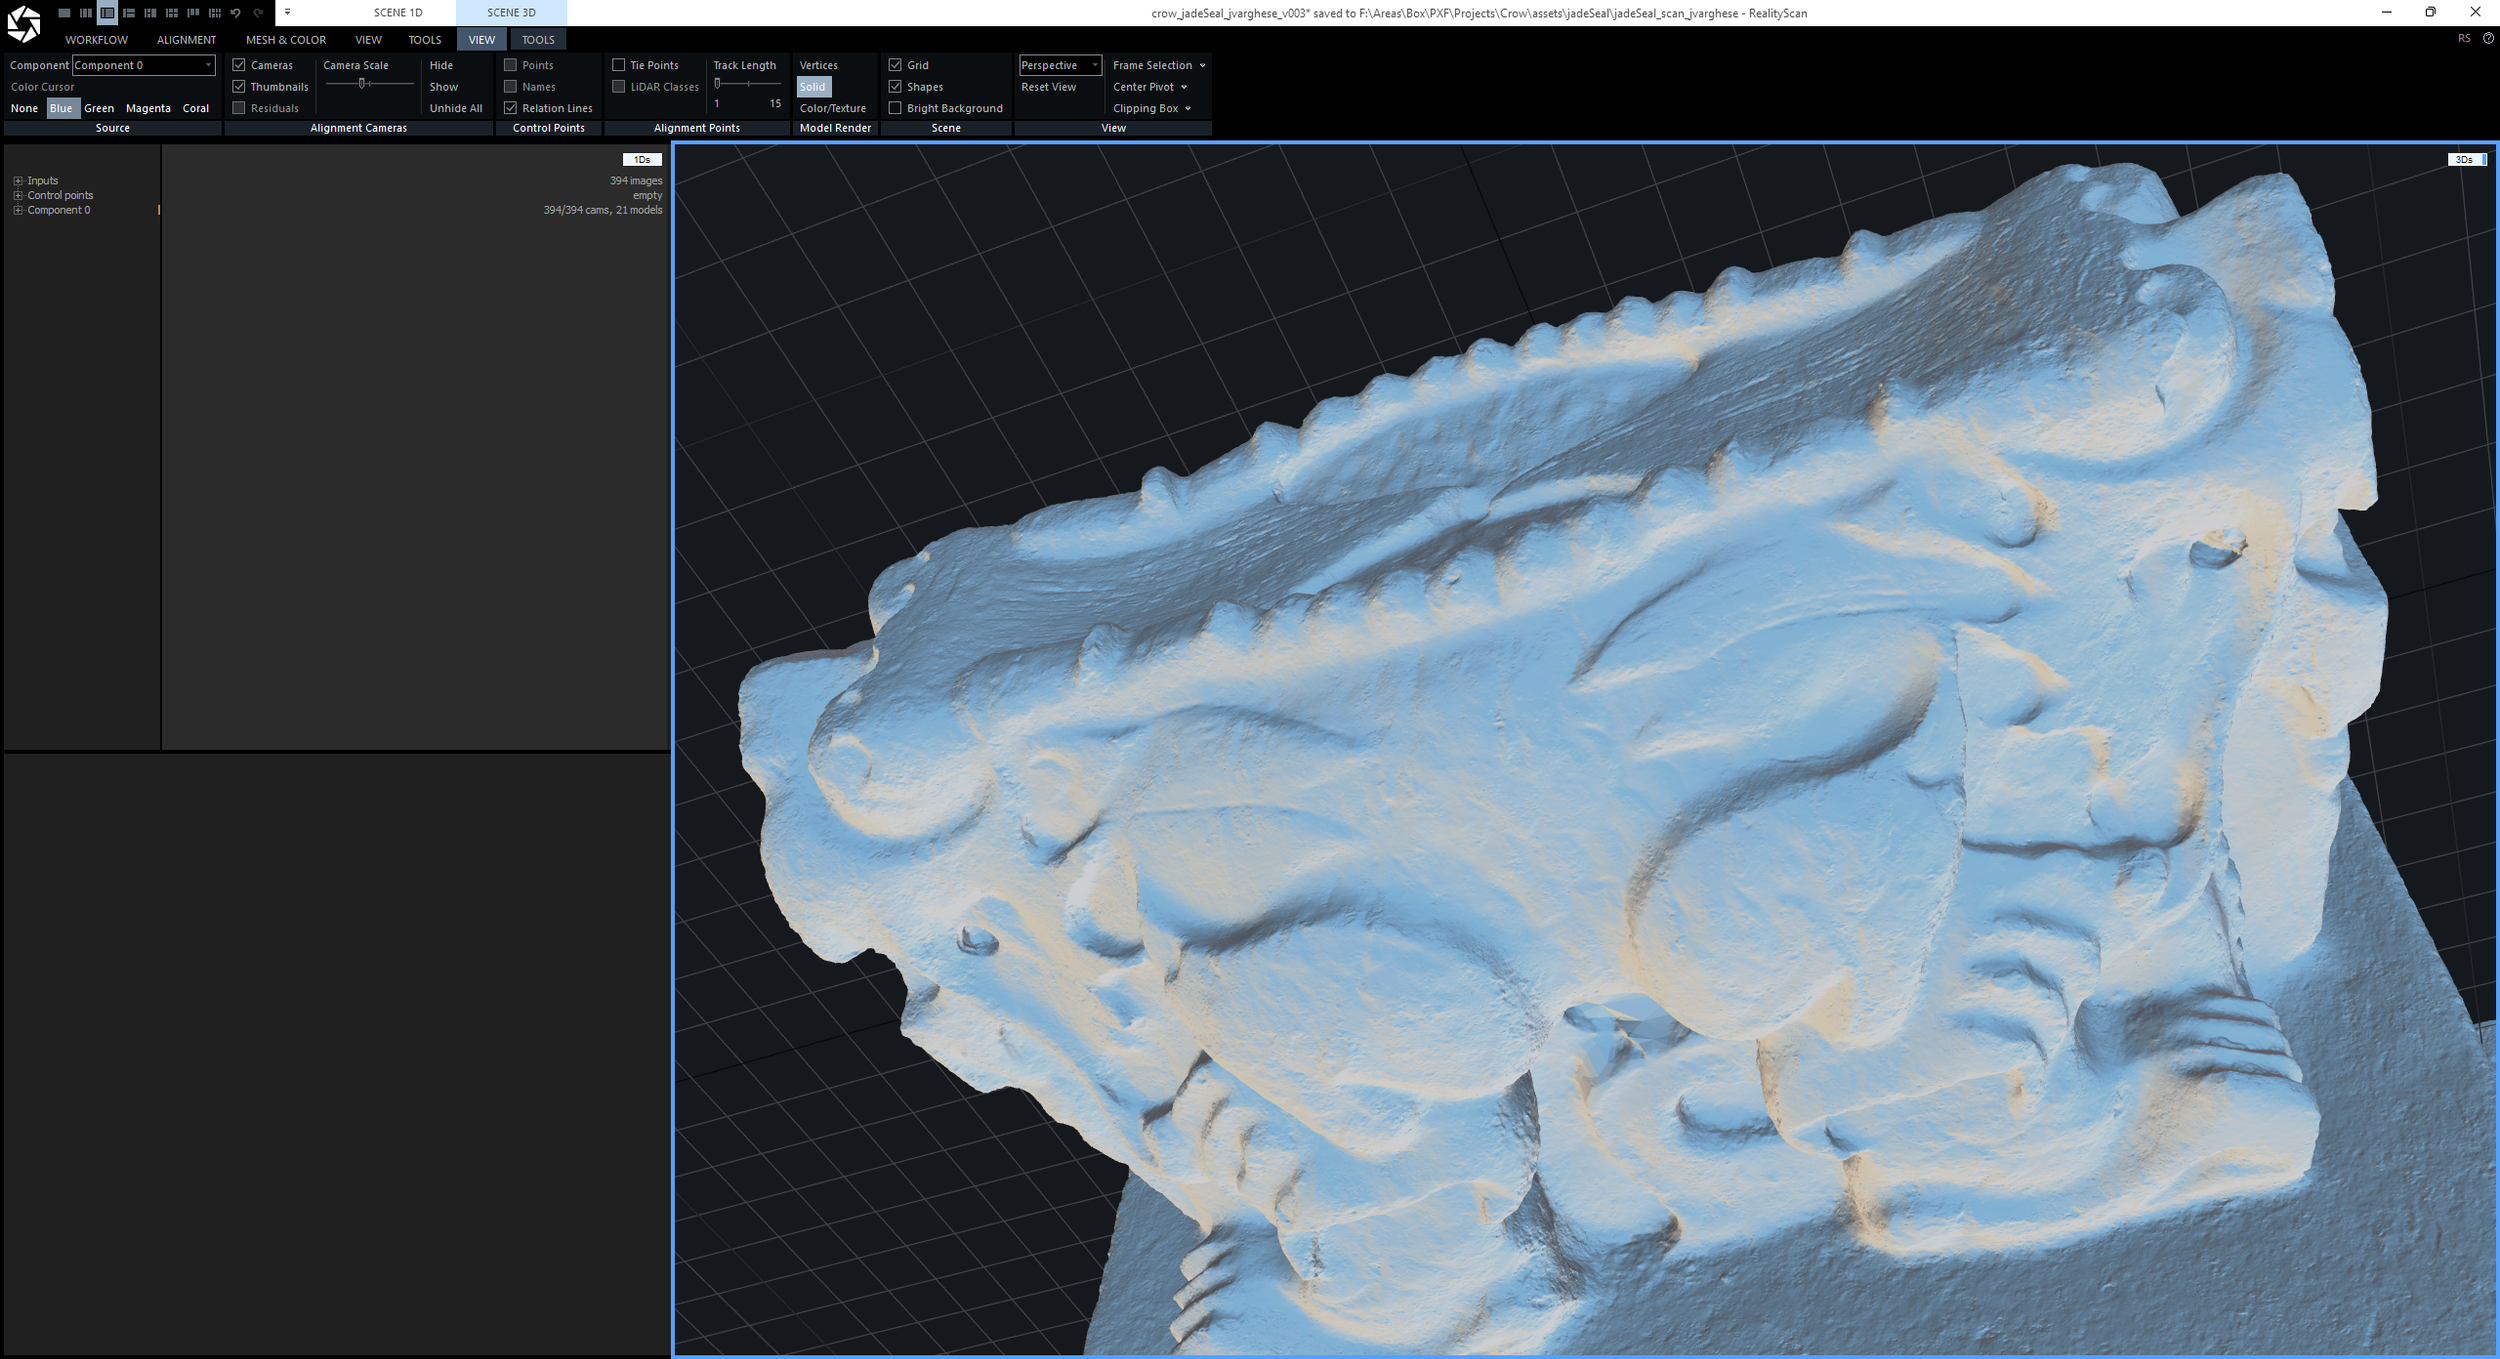
XPOL-only reconstruction preserved the highest level of surface detail (version 02)
This confirmed the following principle:
XPOL → best for geometry (diffuse, stable features)
PPOL → best for texture/specular data
Mixing both reduced micro-detail fidelity due to inconsistent feature responses.
The final result was Version 2 (XPOL-based), which produced the most reliable mesh.
V. Mesh Optimization (Master Creation)
High-detail reconstruction produced dense geometry, often ranging between 50M–300M polygons. At these densities, the viewport may default to a point cloud display to maintain performance.
The Jade Seal reconstruction resulted in approximately 27M polygons.
1. Evaluate
I inspected the mesh for surface quality and completeness using tools such as Check Topology, Integrity, and Quality Analysis in the Mesh and Color tab.
2. Simplify
Once the scan was successful, I used the Simplify tool to reduce mesh density while preserving key detail.
3. Define Master Mesh
I defined the simplified mesh as the Master High-Poly, which will be used for all subsequent baking and cleanup.
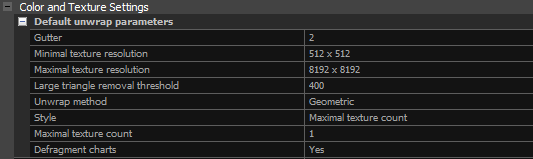
VI. UV Unwrapping and Texture Generation
Before baking, I defined the texture layers and unwrapped the model.
UV Unwrap
Under the Mesh Model tab, I clicked Unwrap to unwrap the mesh to a single texture.
For a single texture setup, I set the following:
Unwrapping style → Maximal Texture Count
Maximal texture count → 1
Texture Generation
Under the Mesh Model tab, I clicked Texture to begin the texturing process.
In the Scene 3D > View tab, I reviewed the master mesh using different display modes (Vertices, Solid, or Sweet).
Note: Models larger than 40 million triangles display as a dense colored point cloud.
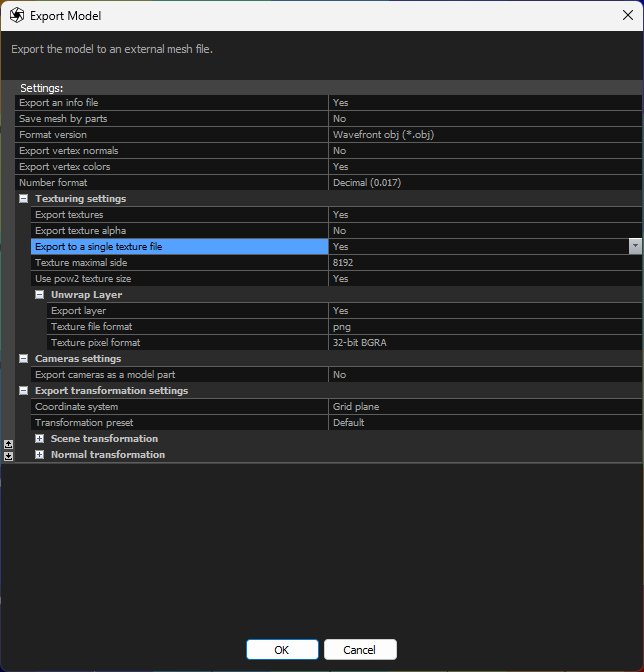
VII. Final Export
Once the textures and UVs were done generating, I exported the 27M master mesh and its associated textures for further cleanup and asset processing in Houdini.
Result
I generated a clean high-resolution reconstruction of the Jade Seal with the tassel successfully removed. This established a stable workflow combining cross-polarized geometry reconstruction with iterative mask refinement, producing an initial draft of the cleanup master mesh for further cleanup and asset processing.


Initial Visualization: Mesh and Surface Quality
I rendered the clay and clay_specular turntable passes from the final master mesh version 2 of the Jade Seal after applying basic resizing and reorientation for initial pre-visualization. These were generated after adjusting exposure in the processed scan images to evaluate surface quality and highlight reconstruction detail, producing the most successful results across all mesh iterations.